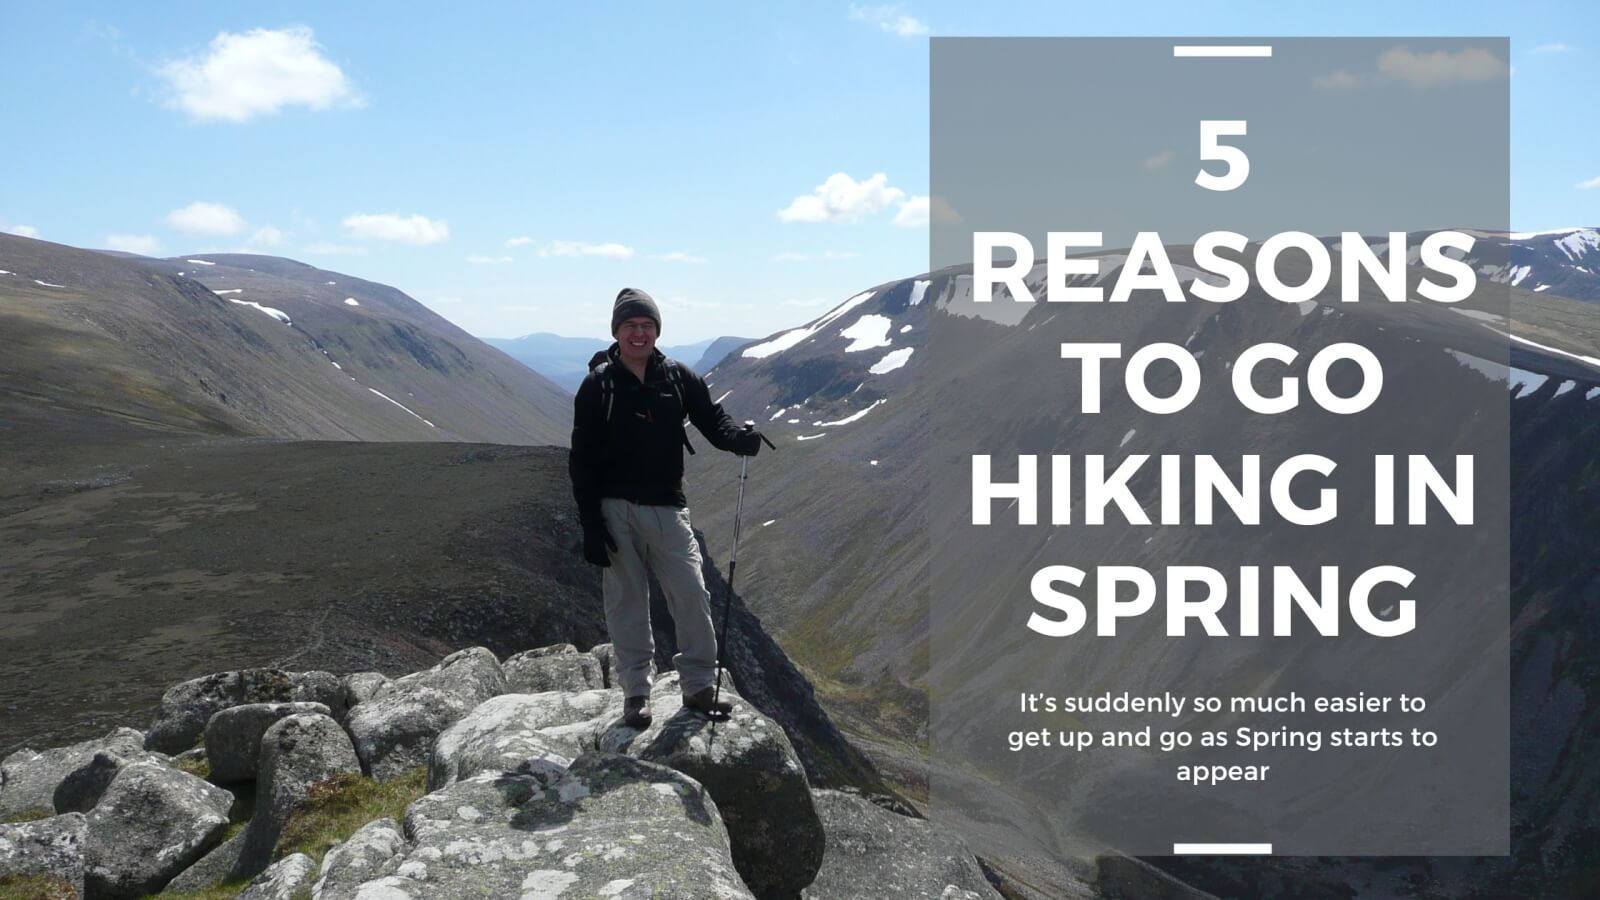
Winter Mountain Navigation – 30 Top Tips & Strategies
Having delivered navigation courses for the last 20 years here are Andy Bateman’s top tips and strategies.
It’s always struck me that describing winter mountain navigation as a bit of a “black art” isn’t a particularly helpful phase for anyone trying to get their head around the subject. Dealing with even the worst of winter white-outs isn’t rocket science but it does require the right approach, mindset and plenty of practice. Here are my top tips:
The Practise
Contours, contours, contours – setting the stage
1, Stand alone Skill
Of all the mountain navigation techniques and skills, contour interpretation is the most stand alone skill. In fine conditions it’s quite possible to get you to your objective without the use of any another technique. It should be the central pillar of all serious mountain navigation courses with all other skills and techniques relating to it.
2, Contour Features
Contour interpretation gives you your direction and distance. Where ever you are in the world, by definition mountains will always have slopes. Slopes have a gradient and an aspect, both of which are denoted by contour lines. Changing gradient and aspect combine to form many of the terrain features like ridges, valley’s, knolls, spurs etc. It’s by relating our position to these on a navigational leg that gets us to our destination. Also when things don’t go quite according to plan, its the terrain that may well indicate what “plan B” should be.
3, Well defined navigational objectives
Seek out well defined but small contour features. Look for abrupt changes in either the spacing between the contour lines or abrupt changes in the direction of the contour. If both come together at the same point, fantastic! This well defined feature may well be discernable on the ground and it’s small size will help to pinpoint your position. Being able to recognise a good contour objectives in this way is an important skill. On navigation courses I often recommend guests take themselves onto a hillside and rather than aiming for the summit, practise seeking out these type of contour features.
4, Never forget the contour lines
Although vitally important in winter mountain navigation, compass work, dead reckoning techniques (timing & pacing), etc should serve to back up your contour interpretation in poorer conditions but never replace it!
5, Winter Whiteouts
Don’t let the conditions dissuade you from monitoring the terrain. Putting aside blowing snow, have you ever paced out the visibility in a winter whiteout? The actual visibility is often better than it appears. The lack of definition due to everything being white and the flat light, is often mistaken as bad visibility. Although often not great, quite frequently visibility will be 50m or more. 50m one way and 50m in the other direction gives you a span of 100m. If you’re on top of other aspects of your mountain navigation it can still be enough to monitor you position in relation to the terrain. In bad conditions it’s even more important that you are interpreting the contours.
Micro navigation in winter
6, Staying on track
Making a diagonal descent across a snow and ice covered slope with a strong cross wind, in a whiteout is going to challenge even the most experienced winter navigator to stay on his/her bearing. It’s changes in gradient or slope aspect that might be the only indication that you have you’ve drifted off your bearing or maybe gone too far.
7, Crampons on?
Think about putting your crampons on when employing dead reckoning techniques. The last thing you want is to find you are unsure of your footing half way though your pacing or timing. It can be very disruptive. Get to know how wearing crampons effects your pacing and speed.
“Error management” comes in a number of forms.
Navigational accuracy operates at 2 levels; firstly, accuracy in any particular skill or technique, and secondly, what could be referred to as “error management”.
8, Sounds familiar?
There are well recognised techniques like: aiming off, attack points and collection features. Each of these techniques either corrects or negates accrued error.
9, Don’t be dependent
Employ a number of techniques simultaneously so to avoid being dependent on the absolute accuracy of any one particular technique. If you’re properly monitoring gradient, slope aspect, features, distance and direction during a navigational leg you hopefully won’t go too far wrong.
10, Keep your legs short
Keep your navigational legs to below 1 km. A 10% error in distance or direction over 2km is going to be 4 times that compared with that over 500m. The more contour features you can identify, the more waypoints you have and hence the shorter your legs can be. It all goes back to the contours!
11, Water Features
Be wary about navigating to water features in winter. Stream channels often fill with snow leaving no surface indication of their presence. Shallow Lochans, lakes and ponds readily freeze solid and won’t sink when loaded by further snowdrifts leaving us without even the luxury of flat surface. The shallow margins of deeper bodies of water can behave similarly thereby reducing their apparent size. Some lakes freeze over and the remaining water drains out. The unsupported ice, which may be buried by snow, then warps and takes on the form of the undulating lake bed again robbing us of any indication of the lakes position.
12, Reassess your timing and pacing
At the end of a navigational leg make sure you’re definitely at your intended objective. Reassess your timing and pacing. Snow conditions can change within a matter of hours. Was your estimated speed correct or did that unexpected patch of deep soft snow you just had to plough through slow us down? How does the terrain look? The next leg may well accrue a little error. You don’t want to compound the situation by transferring error from you last leg to it.
Keep mental arithmetic to an absolute minimum
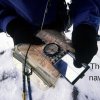
13 Use Romer Scales
Use the romer scales on your compass base plate. Mental arithmetic is easily done in indoors but it can be a whole lot more difficult whilst being battered by high winds and sub zero temperatures.
14, Prior preparation …
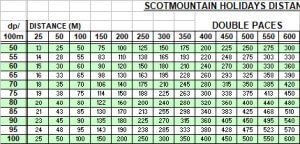
Available for purchase (£5)
Use a time-pace matrix with pre-calculated times and double pace figures. The more comprehensive the better! Aside from increasing accuracy, a very detailed matrix affords you the ability to compare values of similar double pace rates or speeds for the leg distance. The difference between similar values in effect indicates an acceptable range of error relative to the length of the leg. You can then use this to compare with what other techniques are indicating. – an additional powerful navigational tool!
15, Keep Count
Use some method to count paces. You will have other thinks to keep an eye on and there is always a chance of an interruption. It’s easy to loose count. Using the traditional cord with toggles on the rucksack strap keeps your hands free.
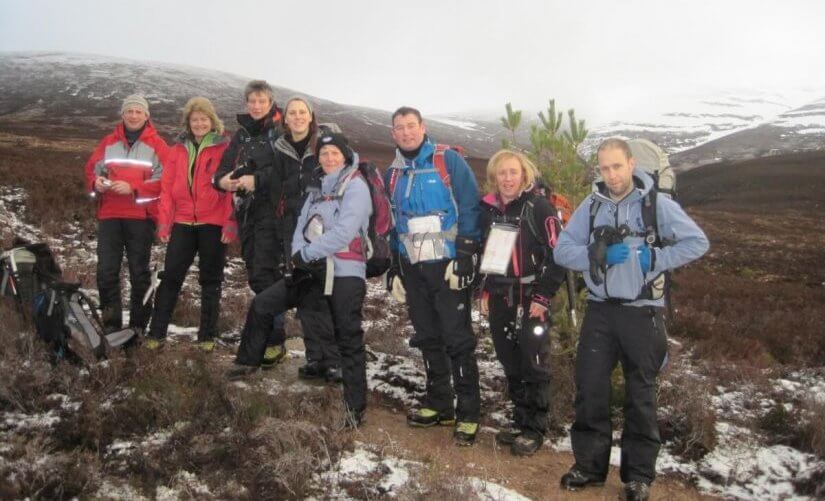
‘Body Conditioning’-
16, Regular Breaks
Your brain is your most important navigational ‘tool’ so plan regular short breaks to keep it well nourished with food and drink. I find 80 mins of walking followed by a 10 minute break generally works well. A stop of this length is quickly used up to adjust clothing, eating, drinking, etc, but more than this and you will start to chill quickly.
17, Be disciplined
If you’re cold, stop and do something about it. Don’t necessarily wait for the next ascent to warm you up. A resultant lack of resolve to make sure things are right may lead to a navigational error that leads to a much greater delay.
18, Guess your bearing
Make a rough estimation of what your bearing will be before you take it. This will help to guard against making simple but easy mistakes. NE bearing will be around 45 degrees plus or minus 22.5 degrees. 22.5 degrees is the difference between NE and ENE. If its S it will be around 180 degrees, W 270 degrees and so on …
The Route Planning
19, Less Challenging Route?
You may well have to opt for less ambitious objectives than you might normally do in the summer. The available daylight will be less. The conditions, the wearing of crampons and the carrying of a heavier pack makes for a slower pace. You will invariably have to make more stops to; check the route, put crampons on & off, etc. than compared in winter
20, Less Direct Route
The route you take may have to be less direct to take in more and better defined way-points.
21, Avalanche!
When planning your route take into account avalanche hazard. No only do you need to consider whether the terrain you cross may be prone to avalanches but whether you may be crossing the run out zone for avalanche prone terrain above. The earlier you start incorporating avalanche hazard evaluation into your route planning the better.
The Gear
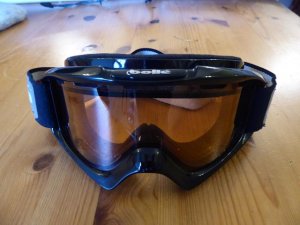
22, Anti Fog Snow Goggles.
Invest in a good pair of snow goggles. You can’t afford to be without your vision. Even snowflakes hitting your eyes on relatively light winds can be particularly uncomfortable. Trying to navigate into the teeth of a 30mph blizzard without eye protection is purgatory. In the bad conditions sunglasses become useless. Adequate eye protection is an absolute must.
23, Buy a powerful headtorch!
Don’t skimp on this thinking it’s just for emergencies. The challenges of navigating high in the mountains after dusk can increase substantially. A strong beam can really help. During the winter months the chances of finishing the day in the dark increase substantially.
24, Trekking Poles with snow baskets
These can be useful in strong winds or soft snow but don’t allow their use to prevent you from employing appropriate navigational techniques, or for that matter your ice axe. If the compass is in use and you’re frequently referring to the map, etc then your poles are best stowed away.
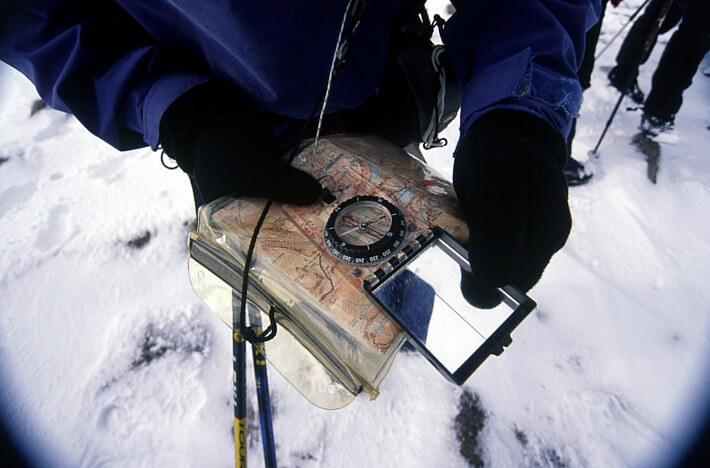
25, Compass features to go for:
a) An adequately sized transparent base plate (10cm plus in length),
b) A magnifying glass for examining contour detail
c) Romer scales to help minimise mental arithmetic.
Over the years I’ve had guests turn up on navigation courses with either the wrong type of compass or cheap poorly designed ones. It’s often not until guests start to use them on the navigation courses that they realise their failings. Silva produces good one. Choose yours carefully.
26, Don’t compromise your needle
On navigation courses cameras and mobile phones have been the main culprits for interfering with compass needles when brought too close. Be conscious of where these are stored in relation to where your compass is stored and used. Steel components on ice axes & trekking poles can also have an effect. On one navigation course a guest had magnetic closures in the storm flap of her jacket zip!
Map scales
Guests are often surprised we don’t automatically go for the 1:25 000 maps on our navigation courses. It is down to personal preference but here are 3 points to consider for winter?
27, More Grid Eastings
A 1:50 000 map has twice as many grid eastings as on a 1:25 000 (2 cm & 4 cm spacing respectively) making it much easier to find an appropriately positioned grid easting when taking a bearing. In most compasses the needle housing is approximately 4cm in diameter, the same as the spacing between grid eastings on a 1:25 000 map. With this scale in bad conditions the lack of eastings can be an irritation when trying to take some N-S-ish bearings. This problem is exacerbated by compasses with small base plates.
28, Clear Contour lines
The wealth of terrain information e.g. loose rock, heath, etc on some 1:25 000 scale maps tends to obscure the contour lines. In winter this extra surface information is often irrelevant as it’s buried.
29, Manageable in high winds
By opting for the combination of a 1:50 000 map and an A5 sized map case (Ortleib referred to it as a A5 ‘document Bag’) you’ll find the map far more manageable in high winds. At this scale an adequate area of the map is displayed to avoid refolding the map on the hill but is small enough to conveniently fit in a jacket pocket for easy access whilst being weatherproof in a map case.
30, Anchor your map
Your map case is a means by which you can attach the map to yourself.
Scot Mountain Holidays runs mountain navigation courses throughout the year both as stand alone courses as well as part of our winter skills courses.